Rendering random nebulae (part 3)
 My brother, who is a hobbyist programmer himself, had the constructive comment that my nebulae were overall too dark. Real nebula have dark and bright areas, he said. And he is right, I guess. So I decided to give it a go and tweak the nebula a bit more.
Shaping up nicely
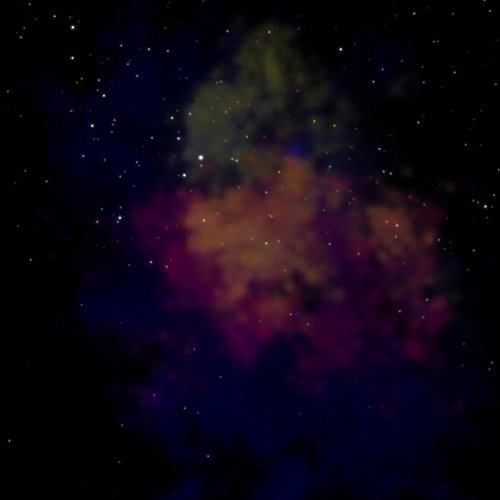
One problem was that when the shape of the nebula was determined, the cloud was pretty much flattened out. This happens because the heights of the bubbles that define the shape are all added up and clamped to 255, which is the maximum alpha value. A consequence of this is, that the nice height map that was created using a plasma renderer, is all flattened. I changed the shaping algorithm so that the inner height map in the cloud is mostly preserved (by taking averages), while still fading at the edges. This gives the cloud a fluffy, three dimensional look.
Previously, I would render a plasma, blend in colors, and finally determine the shape of the nebula. This time, each layer has its own shape. The result is that the colors are more coherent and staying together in their own little “sub cloud”.
A Blurred Vision
It seemed like a good idea to blur the image to make it a vague cloud. This turned out not so well; blurring the image takes all detail out of the image. (Sounds kinda obvious, doesn’t it?)
I also did some trickery with the alpha channel previously, to fade the entire image. This was totally unnecessary, as you can set the alpha factor with glColor4f() when the final texture is being drawn—so I took out this code, simplifying things. Since the background is the black void of space, this only controls the brightness of the nebula.
Blending In
Previously, I used alpha blending to blend in colors into the nebula. Alpha blending is real nice, but for rendering clouds it’s better to use additive blending. The formula used is:
result = alpha * srcPixel + destPixel
In OpenGL, you would call this:
glBlendFunc(GL_SRC_ALPHA, GL_ONE);
glEnable(GL_BLEND);
What’s cool about additive blending, is that blue and red make magenta, and blue and yellow make green. This may sound obvious, but note that this is not true for alpha blending.
I also use additive blending for making some extra bright stars. Experiments with additive blending in layers multiple times into the nebula were not exactly successful, as it looks funny when you make it super bright.
On one hand, I’m very happy with this result, while on another … it shows the plasma algorithm. It’s almost as if blobs of paint have been splatted onto the screen in a pseudo-random way. Ever heard of the Holi festival? I think it may be a good way to generate clouds too. But for now, I’ll leave it at this.
